HOME / INSTALLATION INSTRUCTIONS
INSTALLATION INSTRUCTIONS
Installing your MurTex wall mural is a breeze. Just follow these simple instructions.
STEP 1: PREPARE AND CLEAN YOUR WALL
Make your wall as smooth and flat as possible by repairing holes and defects with putty, plaster or drywall compound.
Remove all dirt, dust and residue with a clean dry cloth.
Do NOT use water to clean your wall as this will reduce the sticking efficacy of the paper, especially if it needs to be repositionned later on.
Remove all dirt, dust and residue with a clean dry cloth.
Do NOT use water to clean your wall as this will reduce the sticking efficacy of the paper, especially if it needs to be repositionned later on.
STEP 2: PREPARE YOUR MATERIAL
We strongly recommend being 2 people to install your Murtex mural.
First, lay your Murtex panels flat on the floor in their proper order, printed side up facing the ceiling.
You may notice some folds and bubbles when laying your panels flat. This is normal. These "imperfections" will disappear once your Murtex mural panels are installed and smoothed on your wall.
First, lay your Murtex panels flat on the floor in their proper order, printed side up facing the ceiling.
You may notice some folds and bubbles when laying your panels flat. This is normal. These "imperfections" will disappear once your Murtex mural panels are installed and smoothed on your wall.
STEP 3: START PEELING THE BACK OF YOUR FIRST PANEL
Gently start peeling a few inches of the back of your first panel.
Do NOT peel the whole back of the panel.
Do NOT peel the whole back of the panel.
STEP 4: STRETCH AND STICK
If your first panel is installed correctly, installing all other panels will be a breeze!
First start by sticking the top left corner of your Murtez mural panel to the top left corner of your wall. This is the easiest place to start.
With your smoothing tool (squeegee, spatula or soft rubber), smooth out the peeled off portion of the panel, going from top left to bottom right. Do not use excessive force as to not damage the panel.
Peel off the rest of the backing a few inches at a time, making sure to smooth out the peeled off portion on the wall as you go down.
We recommend having a second person hold the bottom of the panel while you peel off the backing. This will make it easier to smooth out the panel on the wall.
Once you have finished sticking the first panel to the wall, gently remove all air bubbles by pushing them outside the panel with your smoothing tool.
STEP 5: PEEL AND STICK THE OTHER PANELS
Line up the top left of the second panel with the top right of the first panel, making sure to match the pattern of both panels.
Repeat STEP 4 above to finish installing the second panel
Do the same for all remaining panels.
Repeat STEP 4 above to finish installing the second panel
Do the same for all remaining panels.
STEP 6: TRIM OFF EXCESS
Once your Murtex mural panels have been installed. SLOWLY and GENTLY trim off the excess material with a sharp trimming knife (Xacto knives are ideal).
Follow your wall and ceiling edges with your blade, making sure not to cut too deep and damage your walls.
Pro tip: You can use a ruler to make sure your cuts are as straight as possible.
Follow your wall and ceiling edges with your blade, making sure not to cut too deep and damage your walls.
Pro tip: You can use a ruler to make sure your cuts are as straight as possible.
TO REPOSITION YOUR MURAL PANELS
Slowly and gently peel off the panels from your wall making sure to support the mural with one hand as you pull it down.
To prevent damaging your wall during the repositioning process, keep the mural as flat and as parallel to your wall as possible.
We recommend you keep the backing of the panels (wax paper) in case you want to reposition them later on. This will help maintain the stickiness of the mural during repositioning or a move.
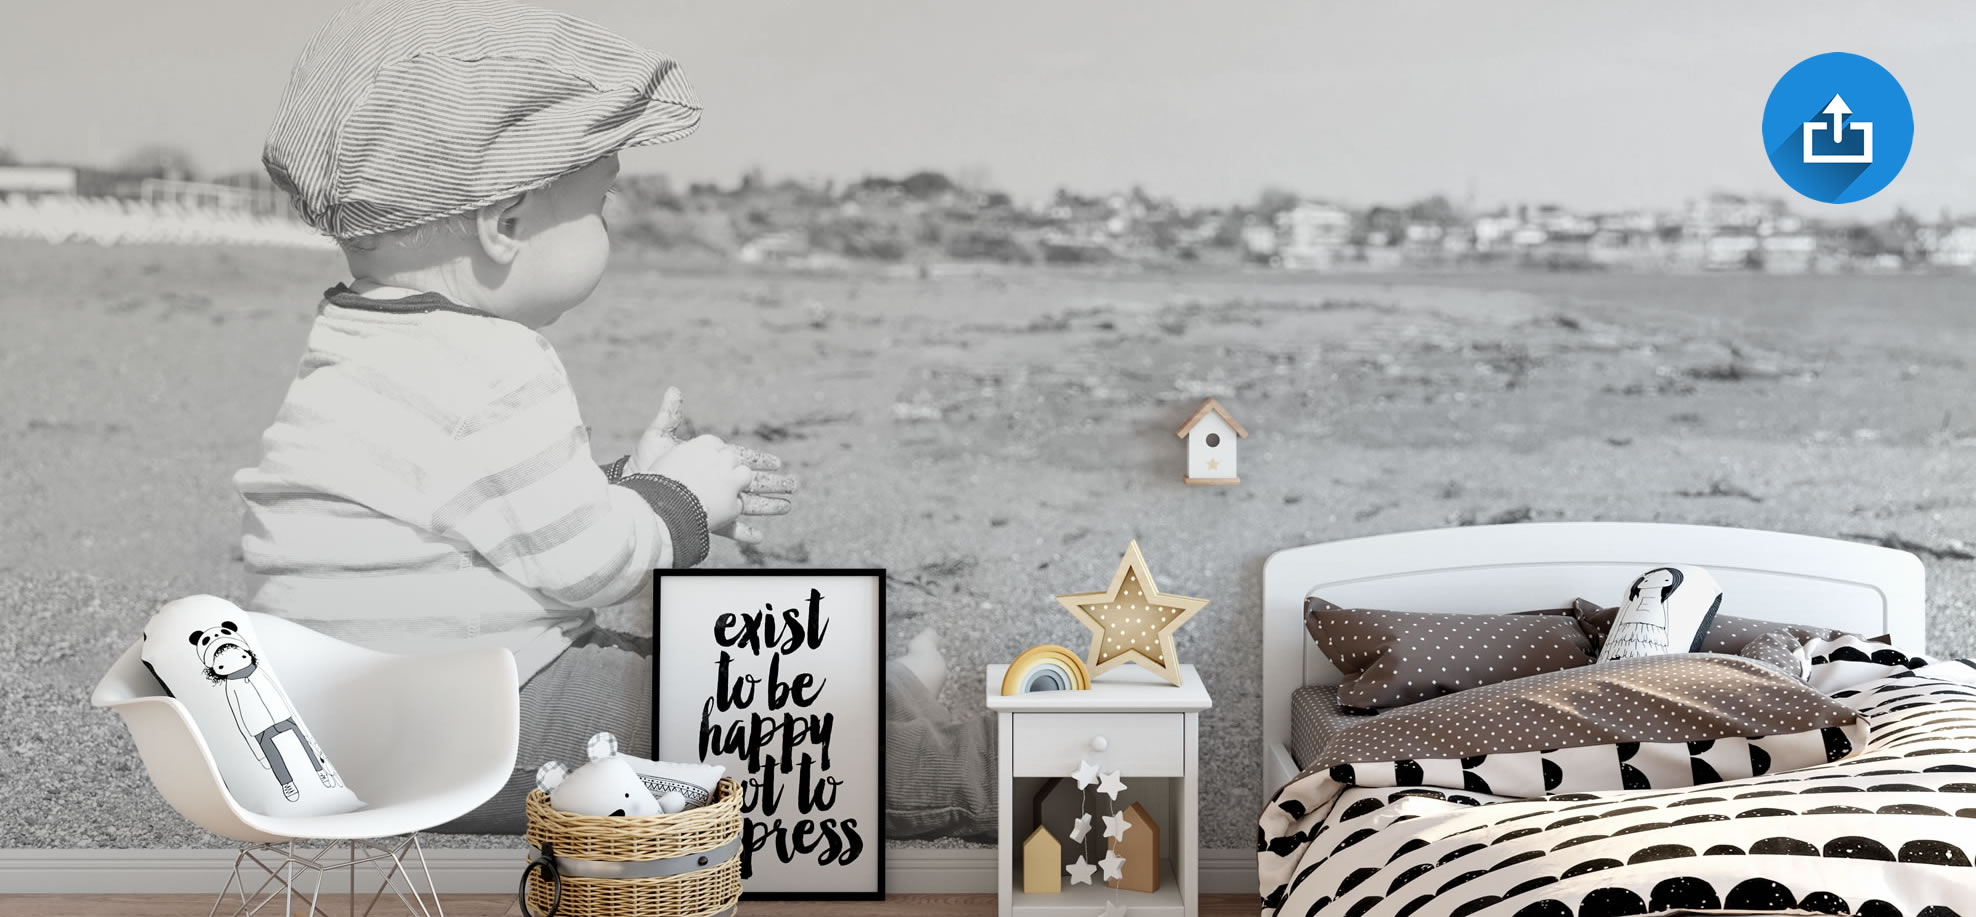
UPLOAD YOUR OWN MURAL
Upload your own precious photo memories or design and create a one of a kind wall mural that truly resonates.
UPLOAD YOUR OWN WALL MURAL
Why Buy a MurTex DIY Wall Mural

Free Shipping
Ground Shipping is ALWAYS FREE across the continental US and Canada.

Quick Turnaround
Our wall murals are IN STOCK and ready to go. 4 - 5 business days production time.

Award Winning Service
Our friendly staff is here to help. Chat or call us at anytime if you need any help!


